
Why i did this
As a part of my studies in Cloud Developer (AWS) at Jensen YH, i wanted to create a portfolio where i can showcase my projects that doesn’t involve so much coding like cloud and cybersecurity projects. Instead of using a hosted platform i chose to use AWS Lightsail to deploy a WordPress blog so i could practice real world skills like server deployment, DNS configuration, HTTPS(SSL) with lets encrypt and a little WordPress hardening.
Step 1: Creating the Lightsail Instance
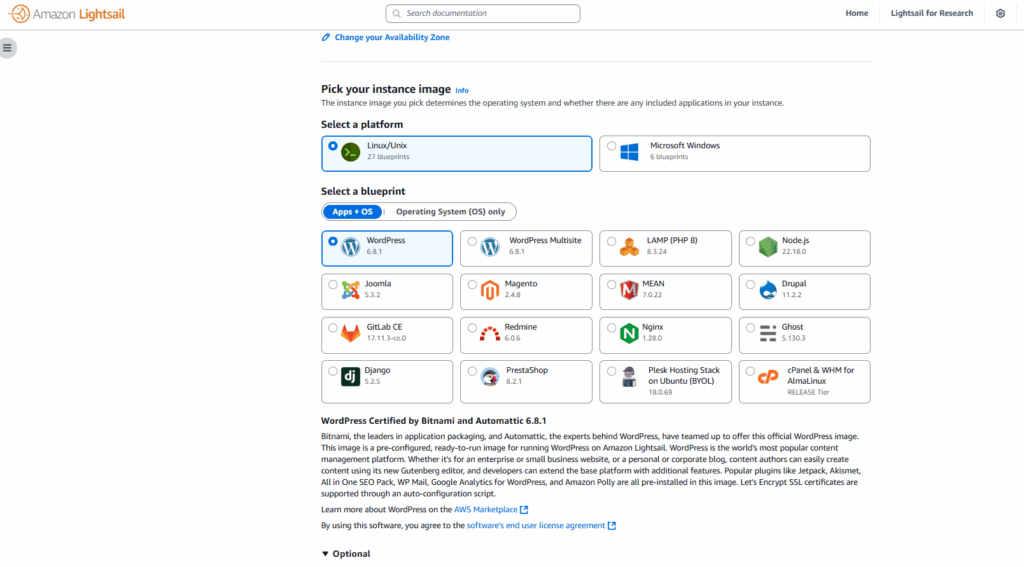
I logged into the AWS console, navigated my way to Lightsail and chose create a new instance, i selected:
- Platform: Linux
- Blueprint: WordPress
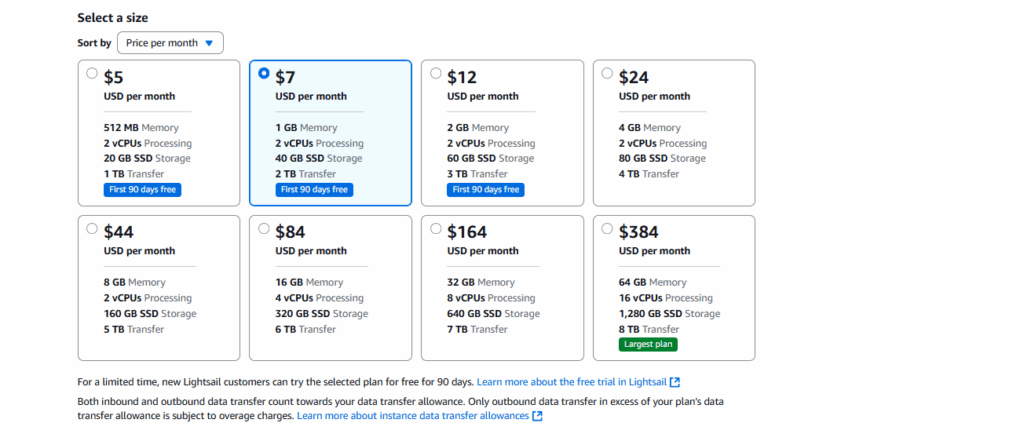
- Plan: $7/month (1 GB RAM, 2 vCPU, 40 GB storage, 2 TB transfer)
This plan gave me a little more stability and performance compared to the smallest plan ($5).
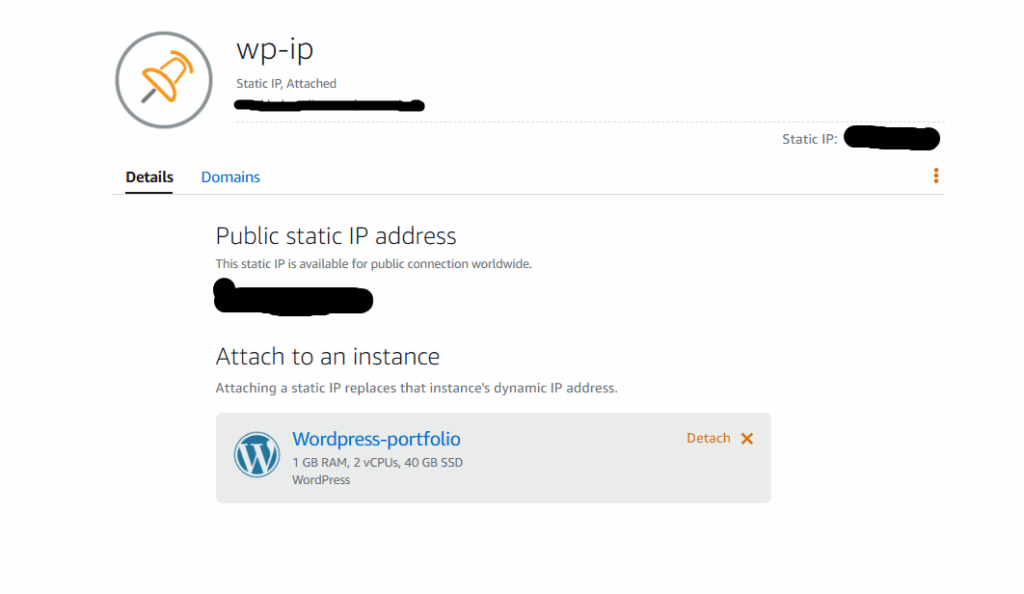
Step 2: Attaching a Static IP
To ensure that my site’s IP never changes, I created and attached a Static IP, this way my domain name will always resolve in the right way even if the instance restarts.
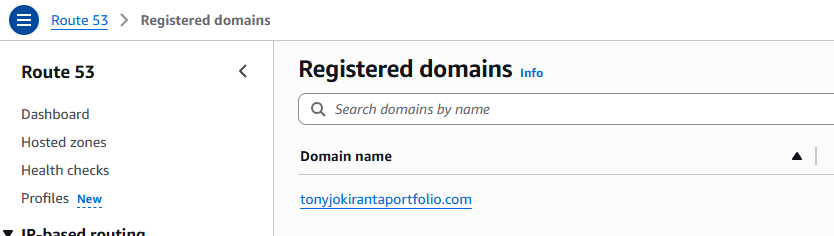
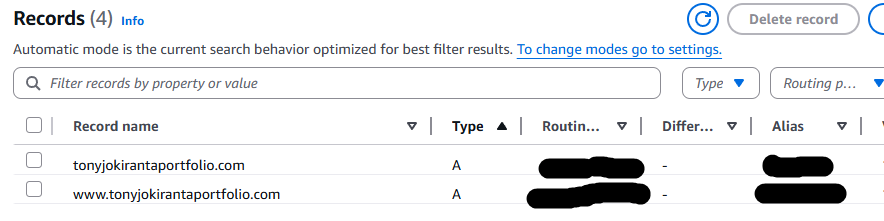
Step 3: Connecting my domain
I registered my domain (tonyjokirantaportfolio.com) and pointed it to the Lightsail instance using Route 53
- A record (root) -> Lightsail static IP
- A record (www) -> Lightsail Static IP
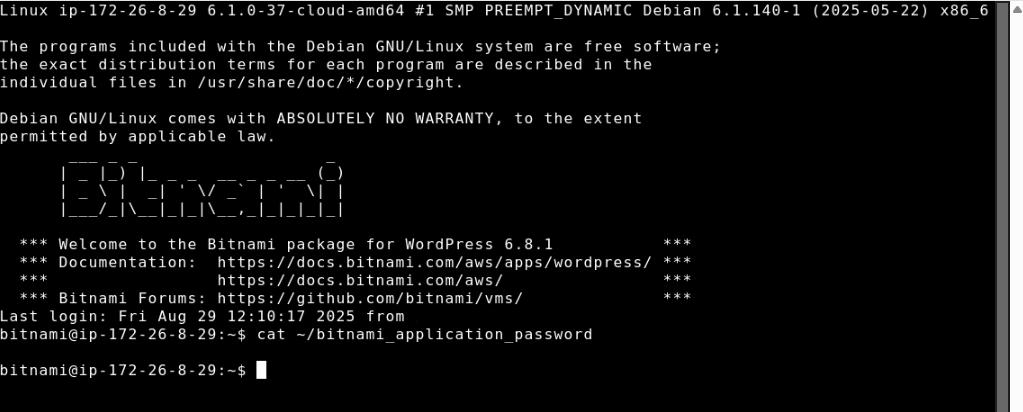
Step 4: Accessing WordPress
Using Lightsail’s browser based SSH i retrieved my WordPress login credentials:
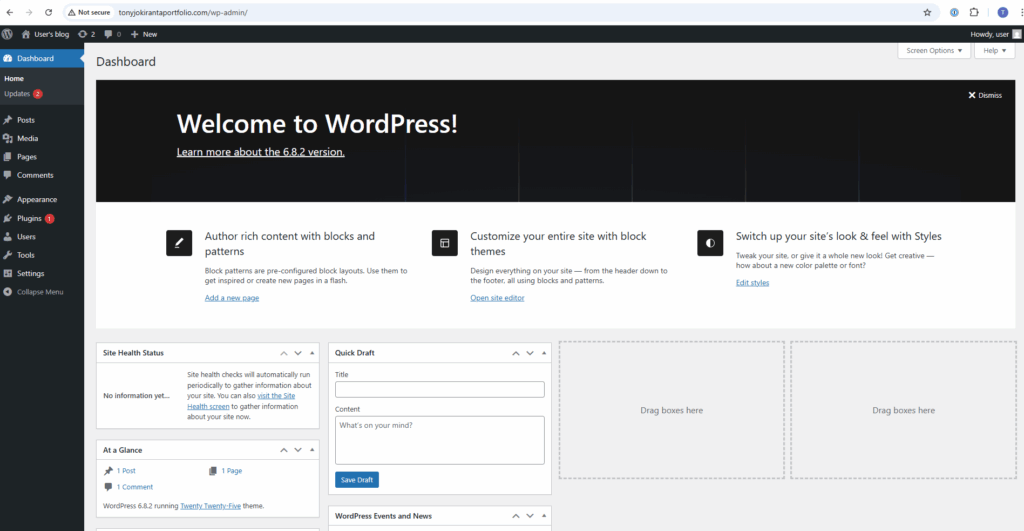
cat ~/bitnami_aaplication_passwordThen i logged into https://tonyjokirantaportfolio.com/wp-admin and started to setup the interface.
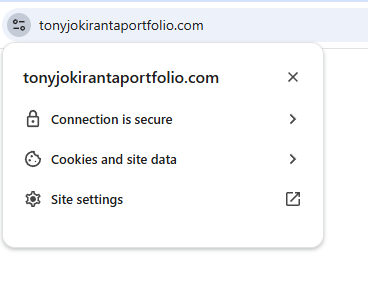
Step 5: Enabling HTTPS (Let’s Encrypt)
Security is essential as we all know, so i enabled free SSL certificate with Let’s Encrypt, using Bitnami:
sudo /opt/bitnami/bncert-toolI also configured renewal and redirection from HTTP -> HTTPS.

Step 6: Backup Strategy
I enabled manual snapshots (Backup savings) of my Lightsail instance, i will take weekly snapshots to backup my blog before i make changes or to have data to recover if something would happen to my WordPress blog for example getting hacked, in a real production environment i would enable daily automatic snapshots to have the extra reliability.
Step 7: Hardening WordPress
To reduce the attack surface, i applied a couple of things:
- Changed the default admin username.
- Installed Two-Factor authentication for login security
- Deleted unused themes and plugins.
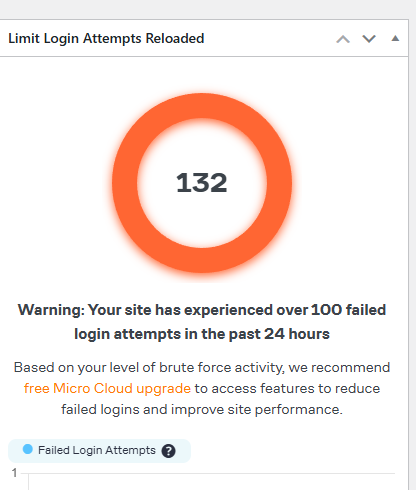
2 days after going live with the blog i noticed 132 failed login attempts in the last 24 hours, which made it clear to me that not even the smallest sites or businesses are safe from attacks from automated bots or other malicious actors.
What i have learned and Final thoughts
- How to use Lightsail and deploy a WordPress.
- How to buy a domain and how to connect it to an instance/application.
- To configure HTTPS and learn how to take snapshots to back up the data.
- That real attacks happen almost immediately even if its a small personal website
This blog is hosted on the infrastructure i have shown and documented in this post and going forward i will continue to share my journey here.